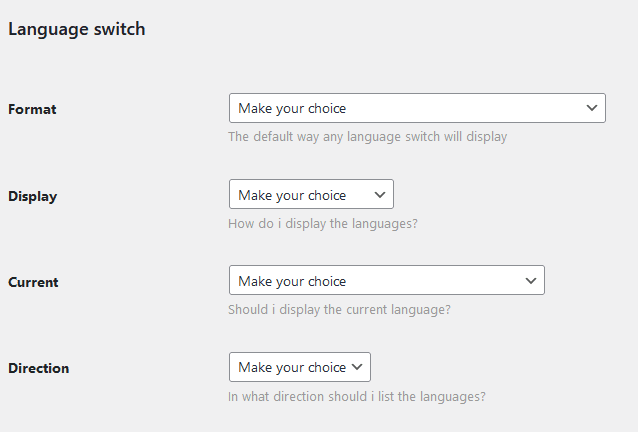
5. Add a language switch
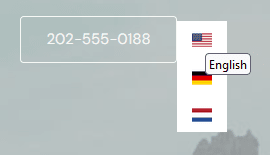
There are many options available to configure the language switch. For example, you can display a flag for each language or use a text label instead. You can also choose to display the languages in a dropdown menu. See the wpMula demo for an example.
See the list below for all available options. Some of the most important settings can be adjusted in the wpMula configuration.
– format
default : display a short language name (en)
flags : display links with an image
title : show a full language name (English)
flag-title : display an image flag and a full language name (English)
title-flag : display a full language name and an image flag
flag-slug : display an image flag and a short language name (en)
slug-flag : display a short language name (en) and an image flag
– display
default : display all languages
dropdown : display the current language and the rest in a dropdown
– direction
default : margin to the right
left : margin to the left
center : align items center
vertical : show items in a vertical direction
– current
default : hide
true : display current language
– wrapper
default : div
ul : ul
– style
Here you can add your own custom CSS lines
– styles_container_padding
15px
– styles_item_padding
15px
– styles_dropdown_bg
#fff
– styles_dropdown_container_padding
0px
– styles_dropdown_item_padding
5px 15px
– styles_flags
height: 20px; width: auto;
– class
Custom class
– classitem
Custom item class
– classlink
Custom link class
– divider
A divider between languages, for example “|”
The most basic way to add a language switch is by using a shortcode. This works on all WordPress sites because shortcodes are a WordPress core function. The wpMula shortcode works in the standard way — you can use all the options described in the previous section as option="value". The default shortcode is:
![]()
![]()
So you add the options like this:
![]()
![]()
Using this format the language switch will be displayed as a flag.